
Imagine controlling your home network’s DNS queries — blocking ads, speeding up browsing, and boosting privacy — all from a tiny, affordable device sitting quietly on your desk. That’s exactly what a DNS server using Raspberry Pi can do for you. Whether you’re a tech hobbyist, privacy enthusiast, or small business owner, setting up your own DNS server unlocks powerful benefits usually reserved for big enterprises.

In this guide, we’ll explore why running a DNS server on a Raspberry Pi is becoming increasingly popular, how it compares to traditional DNS services, and practical steps to set up and customize your own. Plus, I’ll share insights from my personal experience building and managing a Pi-based DNS server that transformed my home network.
What Is a DNS Server and Why Use Raspberry Pi?
A DNS (Domain Name System) server acts like the internet’s phonebook — it translates easy-to-remember domain names (like example.com) into IP addresses computers use to communicate. Normally, your internet service provider (ISP) or public DNS services like Google DNS or Cloudflare handle this process.
Running your own DNS server offers several advantages:
- Ad and tracker blocking: Control unwanted content at the network level.
- Privacy: Avoid logging and tracking by third-party DNS providers.
- Speed: Cache frequent queries locally for faster responses.
- Customization: Tailor DNS rules, whitelist/blacklist domains, or create local domains for your home network.
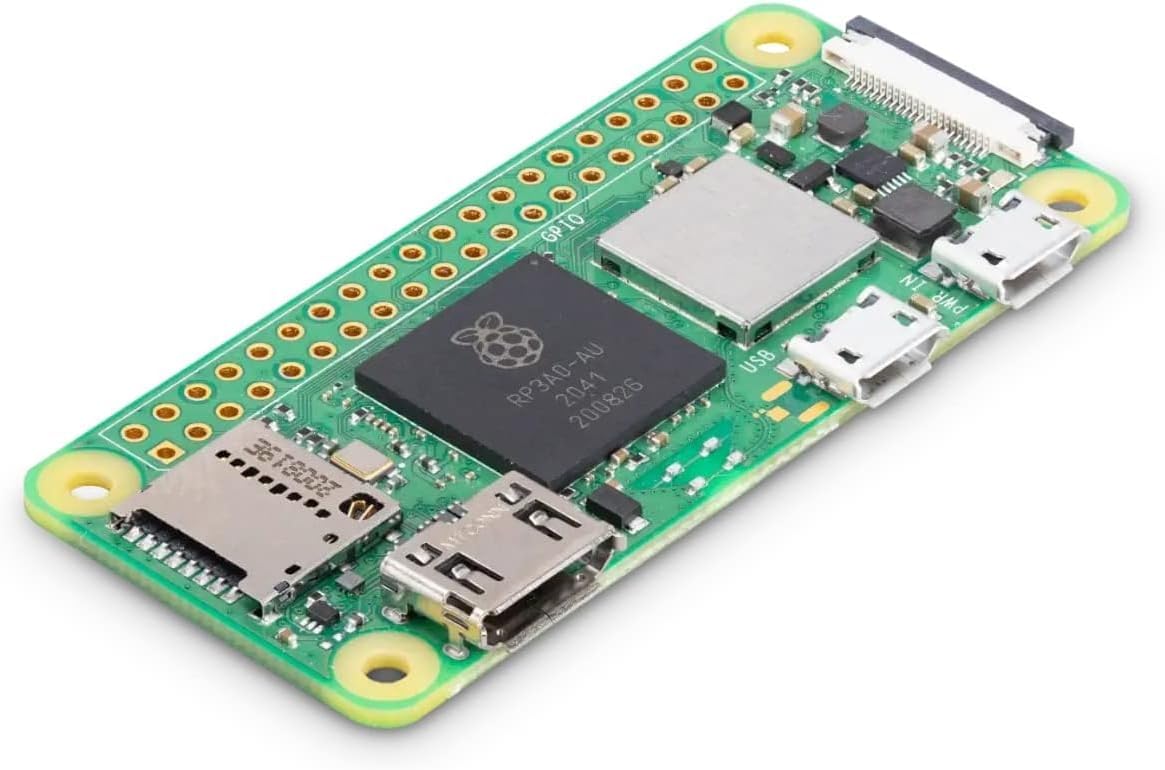
The Raspberry Pi — a small, energy-efficient, and inexpensive computer — is ideal for this task. Its affordability means you can run a dedicated DNS server 24/7 without worrying about electricity bills or hardware costs.
Popular Methods to Run a DNS Server on Raspberry Pi
There are several ways to implement a DNS server on a Raspberry Pi, but two stand out for their ease and power:
1. Pi-hole: Network-wide Ad Blocking DNS Server
Pi-hole is the most popular open-source DNS sinkhole solution for Raspberry Pi. It filters out advertisements and trackers at the DNS level, improving browsing speed and privacy across all devices connected to your network.
- Easy installation: One-line installer available.
- User-friendly web interface: Monitor queries and configure settings easily.
- Integration: Works well with your existing router or can be configured as your network’s primary DNS.
2. BIND9: Full-Featured DNS Server
BIND9 is a robust DNS server software used by many enterprises. It allows you to manage DNS zones, forwarders, and even run authoritative DNS for your domains.
- Complex but flexible: Perfect for advanced users who want full control.
- Supports zone files: Useful for managing local or external domain records.
- Extensible: Can be combined with caching and forwarding for hybrid setups.
Step-by-Step: Setting Up Pi-hole on Raspberry Pi


Here’s a quick overview of how to set up Pi-hole, the easiest way to get started with your own DNS server:
| Step | Command / Action | Notes |
|---|---|---|
| 1 | Update your Pi: sudo apt update && sudo apt upgrade -y | Keeps system secure and stable |
| 2 | Install Pi-hole: `curl -sSL https://install.pi-hole.net | bash` |
| 3 | Follow prompts to select network interface, upstream DNS, and admin password | Default Cloudflare or Google DNS recommended |
| 4 | Access web admin interface via http://<pi-ip-address>/admin | Manage blocked domains and stats |
| 5 | Set your router’s DNS to the Pi-hole IP or configure devices manually | Network-wide filtering enabled |
Tip: Set a static IP for your Raspberry Pi before installing Pi-hole to avoid IP changes disrupting DNS.
Why Use Pi-hole vs. Other DNS Solutions?
| Feature | Pi-hole | Public DNS (Google, Cloudflare) | BIND9 |
|---|---|---|---|
| Ease of Setup | ⭐⭐⭐⭐⭐ (Beginner friendly) | ⭐⭐⭐⭐⭐ (No setup needed) | ⭐⭐ (Advanced) |
| Ad Blocking | Built-in DNS sinkhole | None | Requires custom config |
| Privacy Control | High (no external logging) | Limited (logs often stored) | Full control |
| Network-wide Scope | Yes | No (unless router supports) | Yes |
| Custom Domain Zones | Limited | No | Yes |
My Experience Running a DNS Server Using Raspberry Pi
When I first set up Pi-hole on my Raspberry Pi, I was amazed at how much faster my browsing became. Ads disappeared from all devices without installing anything on each one. The best part? I gained peace of mind knowing my DNS queries weren’t sent to big providers tracking every move.

Later, I experimented with integrating Unbound, a recursive DNS resolver, for added privacy and speed. This combination turned my Pi into a private DNS powerhouse, bypassing public resolvers entirely.
For more advanced setups, I tried configuring BIND9 to manage local domain names for my home lab devices, giving me custom hostnames instead of IP addresses. While this took more effort, it provided invaluable learning about DNS internals.
Best Practices and Tips for Your DNS Server Using Raspberry Pi
- Use a Static IP: Prevent IP changes that break DNS service.
- Backup Your Configurations: Save Pi-hole settings or BIND zone files regularly.
- Monitor Logs: Check query logs to identify unwanted traffic or troubleshoot.
- Combine Pi-hole with Unbound: Enhance privacy by running recursive DNS locally.
- Keep Software Updated: Stay secure by applying updates promptly.
Conclusion: Why a DNS Server Using Raspberry Pi Is Worth It
A DNS server using Raspberry Pi is more than just a tech project — it’s a practical tool that improves your internet experience, strengthens privacy, and teaches invaluable networking skills. Whether you choose the simplicity of Pi-hole or the power of BIND9, this tiny device can transform how your network functions.
If you’re ready to gain control over your network’s DNS traffic, reduce unwanted ads, and protect your privacy, there’s never been a better time to start building your own Raspberry Pi DNS server.
Explore More
- Official Pi-hole Documentation
- BIND9 Configuration Guide
- Raspberry Pi Official Site
- About Raspberry Pi
Call to Action
Have you tried running a DNS server using Raspberry Pi? Share your experiences, tips, or questions in the comments below! Don’t forget to subscribe for more DIY networking guides and tech projects — empower your home network today!


Can you be more specific about the content of your article? After reading it, I still have some doubts. Hope you can help me.